This article talks about how to implement Linux PS Uart and PL Uart via User Space shell commands.
For related subjects, please refer to the SOC Table of Contents.
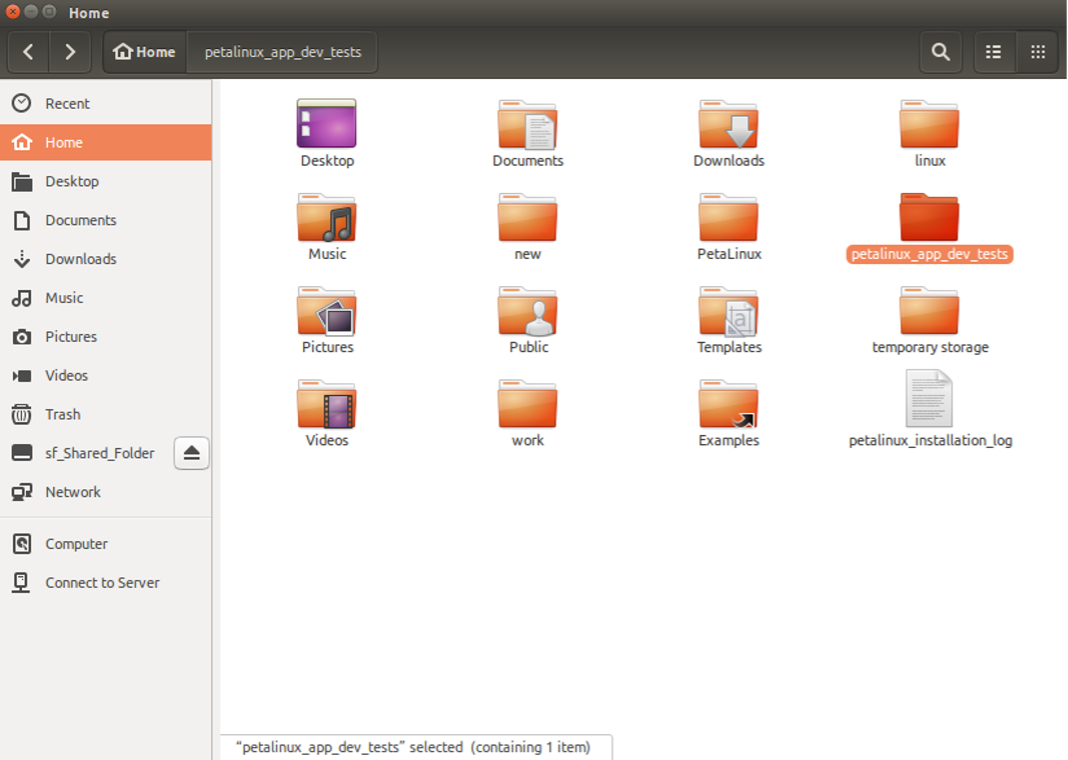
Create a new folder for the new PetaLinux project.
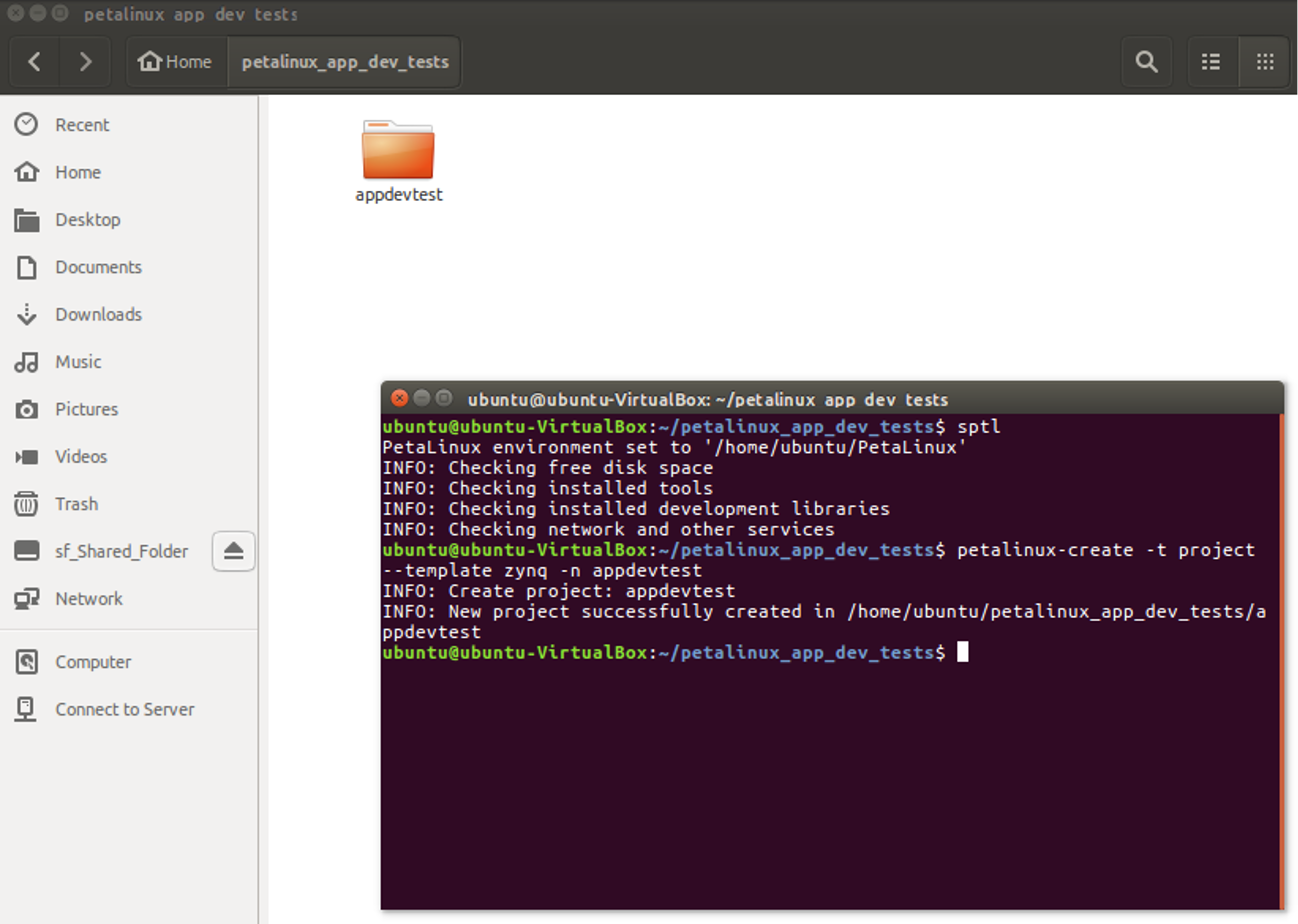
Use the following commands to create a new PetaLinux project within the folder that was just created.
sptl
petalinux-create -t project --template zynq -n appdevtest
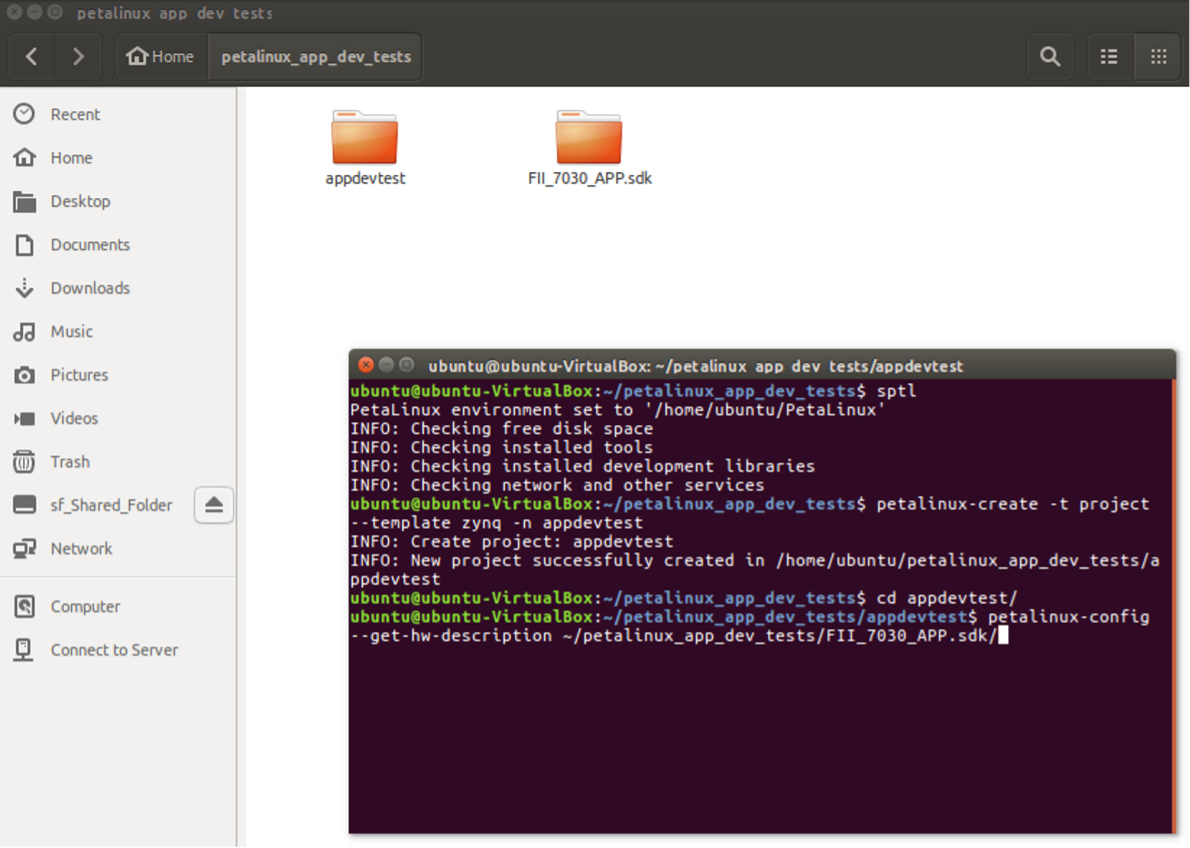
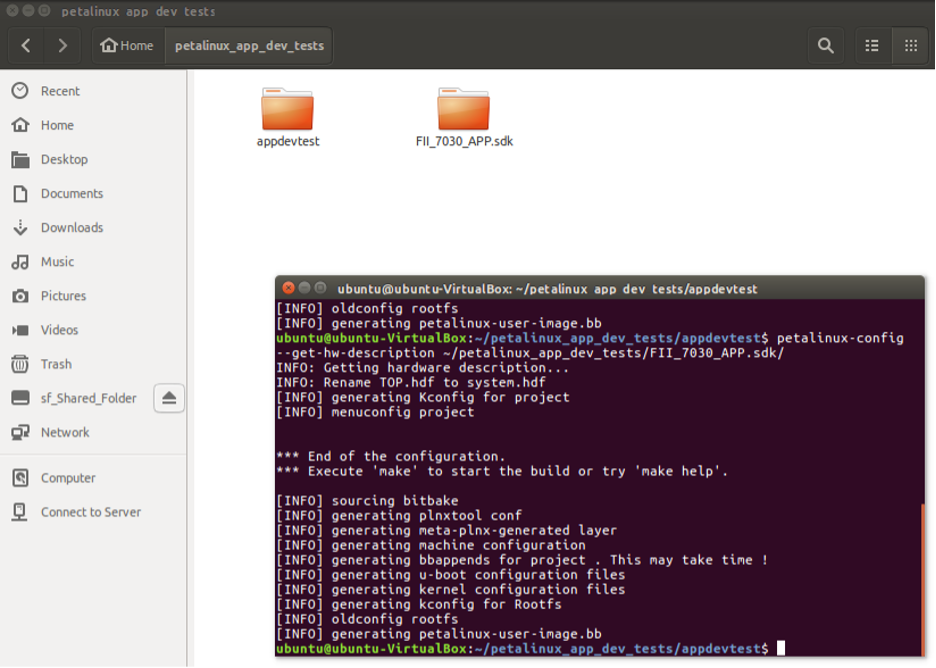
Use the cd command to go into the project folder to make some modifications. Make sure to use the corresponding .sdk file.
cd appdevtest
petalinux-config --get-hw-description ~/petalinux_app_dev_tests/FII_7030_APP.sdk/
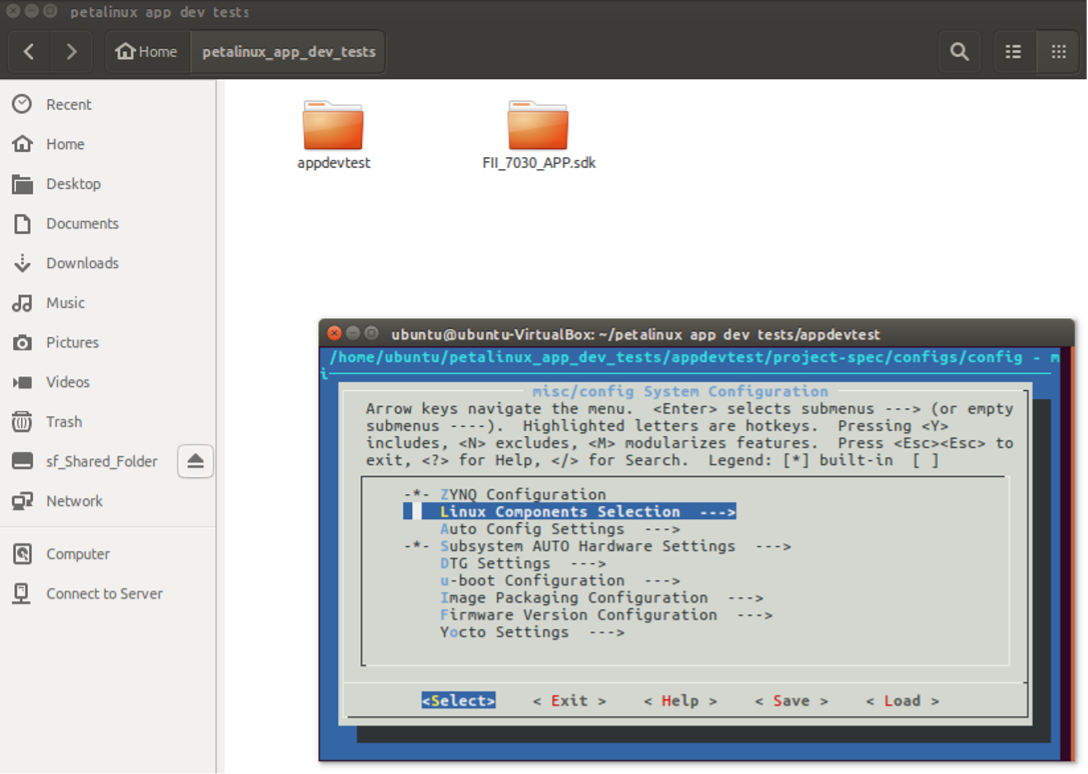
The settings page should open up.
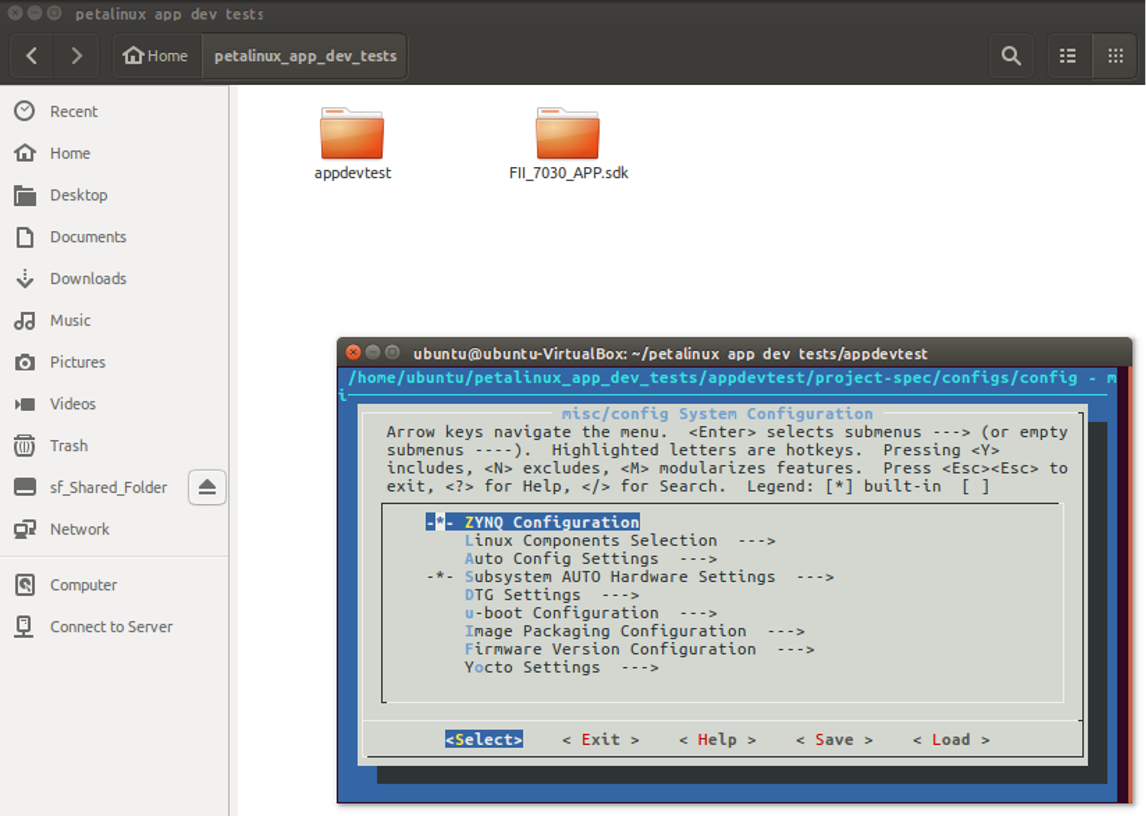
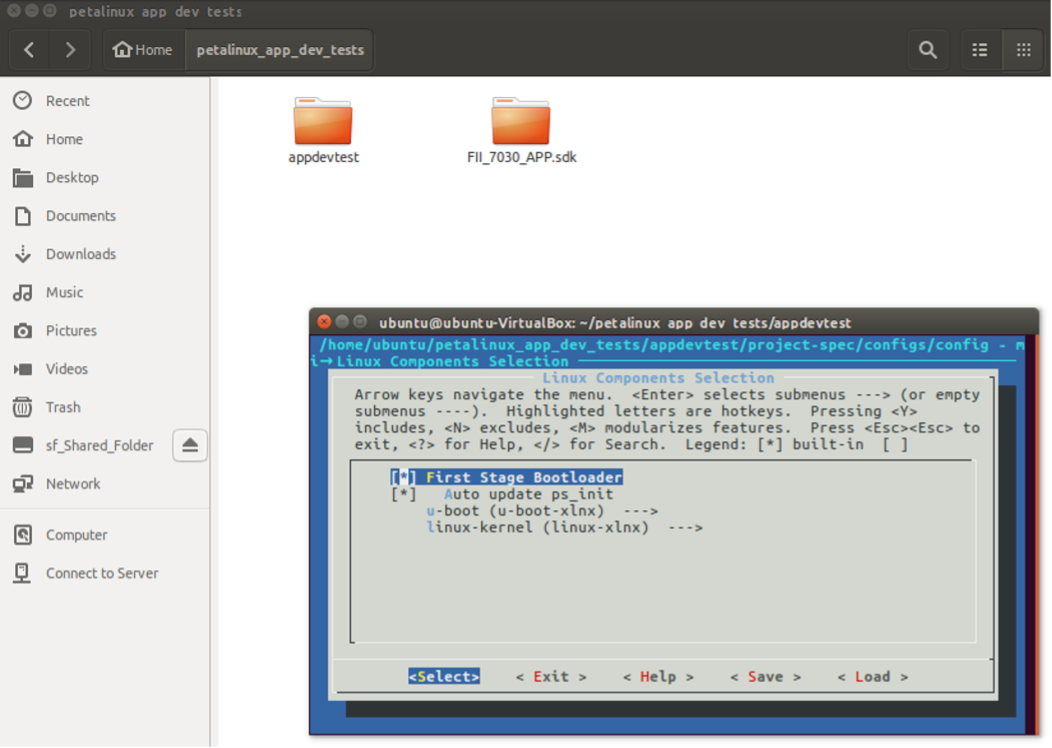
Select Linux Components Selection.
Select First Stage Bootloader as well as Auto update ps_init.
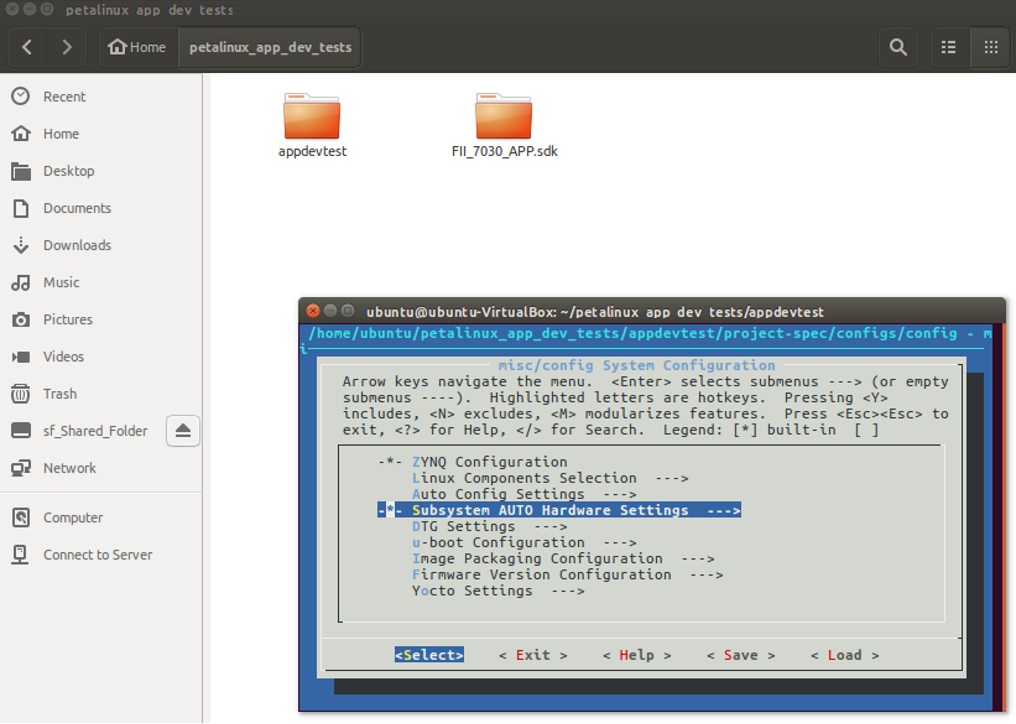
Next, go into Subsystem AUTO Hardware Settings.
Go into Serial Settings.
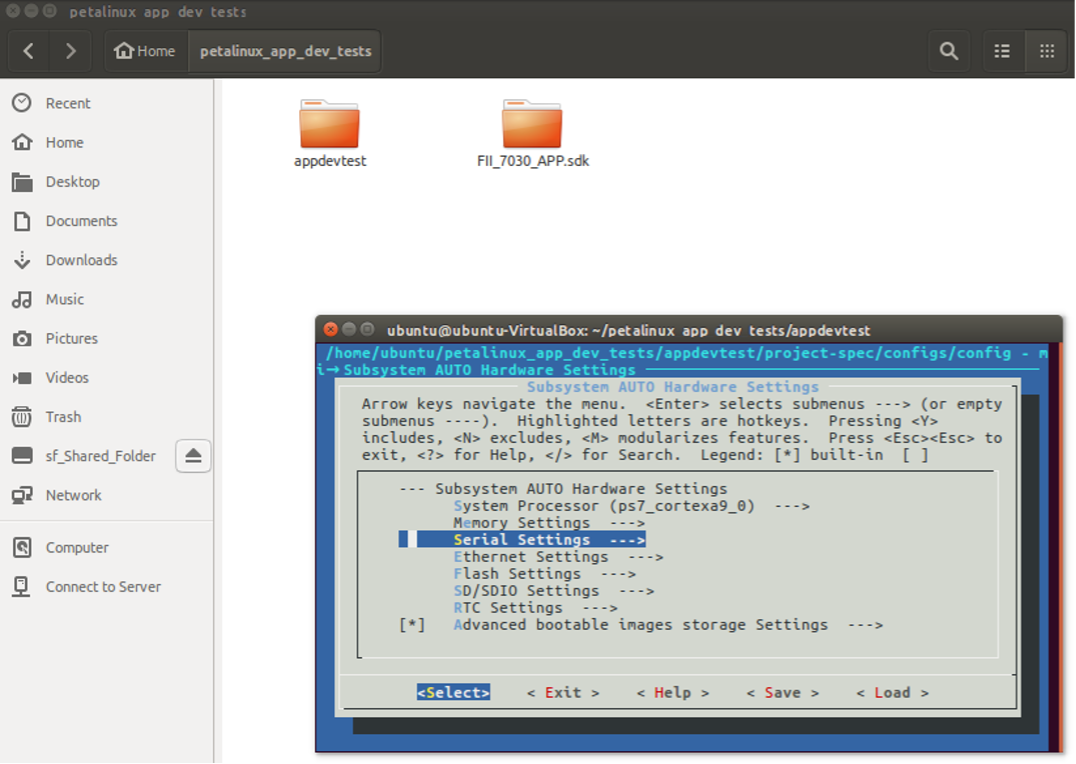
Select Primary stdin/stdout and set it as ps7_uart_0.
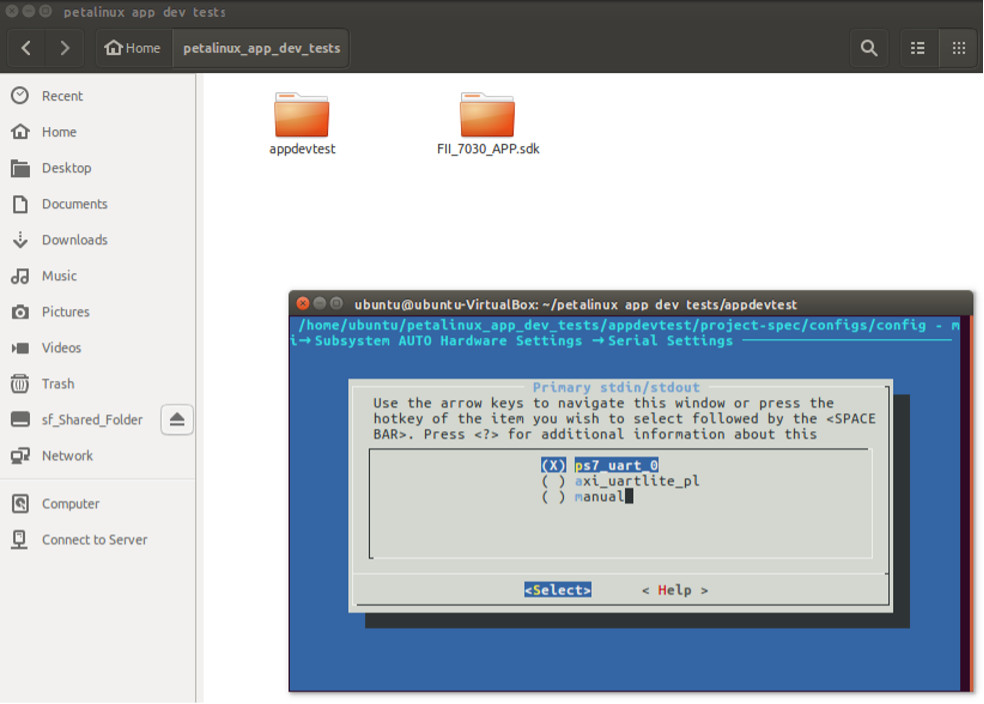
Save and exit after modifying the settings.
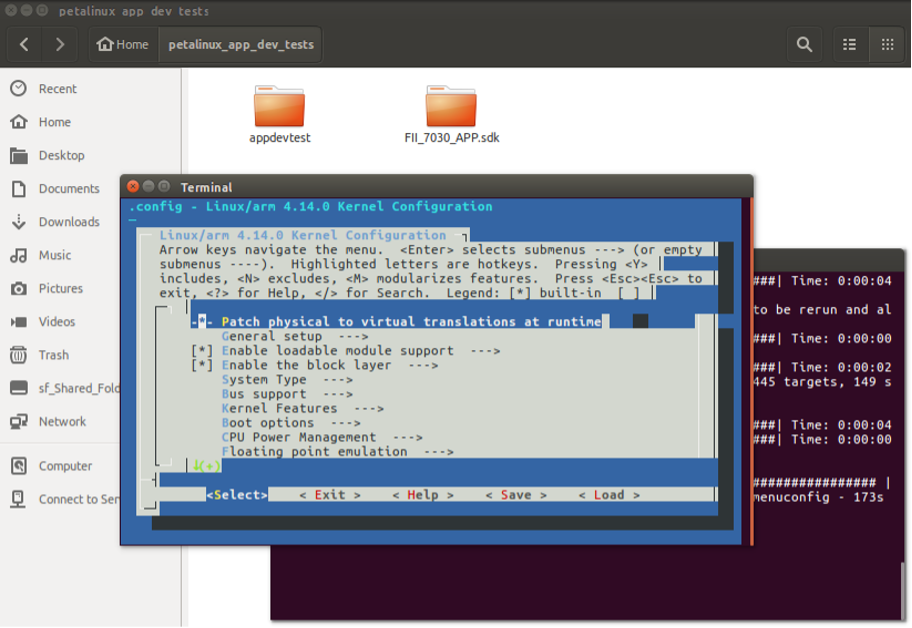
Next, we will configure the Linux kernel.
petalinux-config -c kernel
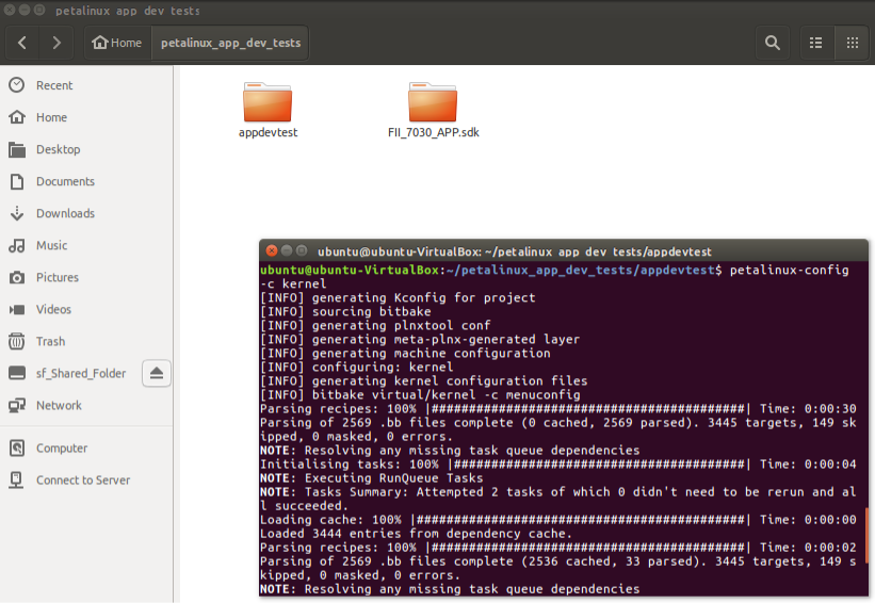
We don’t need to make any changes in the graphical interface, we can directly save and exit.
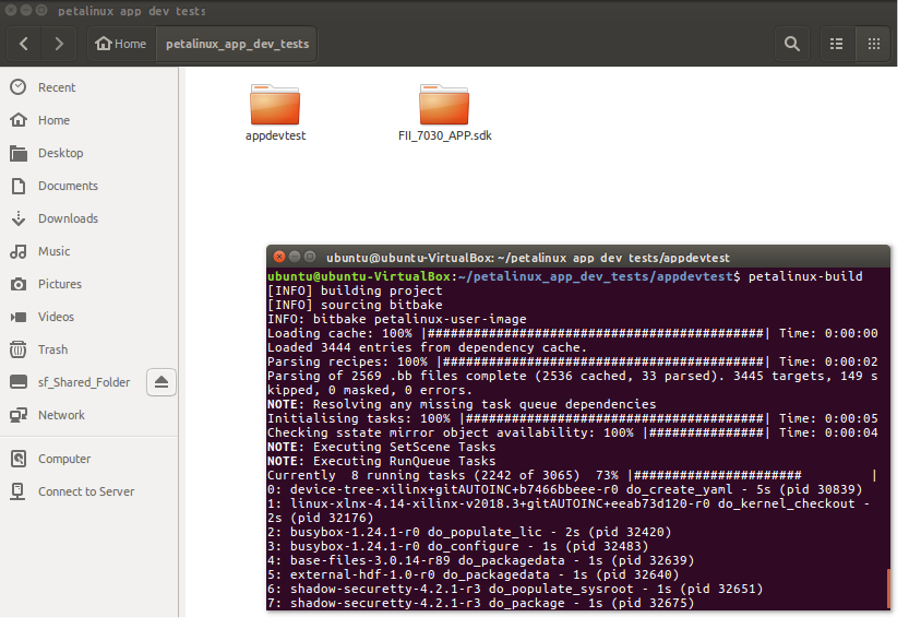
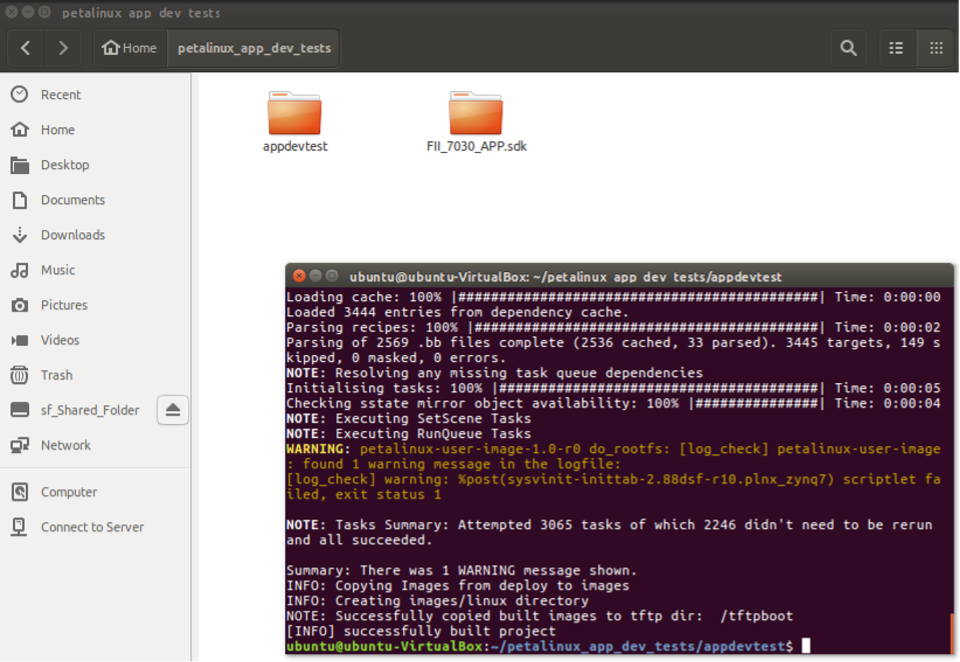
Next, we can use the following command to compile the entire project.
petalinux-build
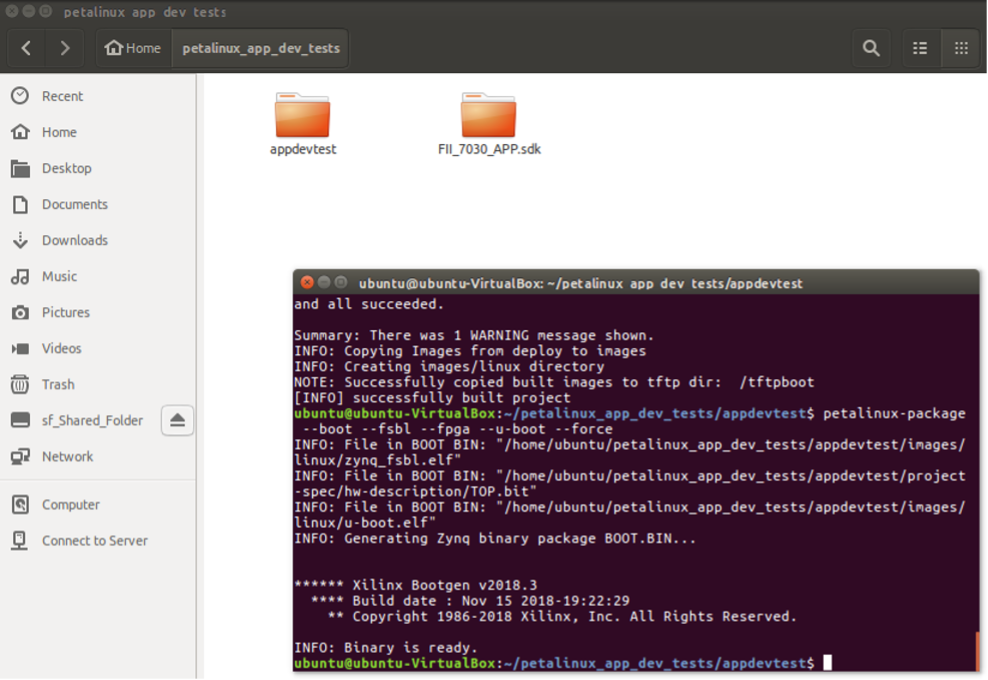
Use the following command to create the boot file.
petalinux-package --boot --fsbl --fpga --u-boot --force
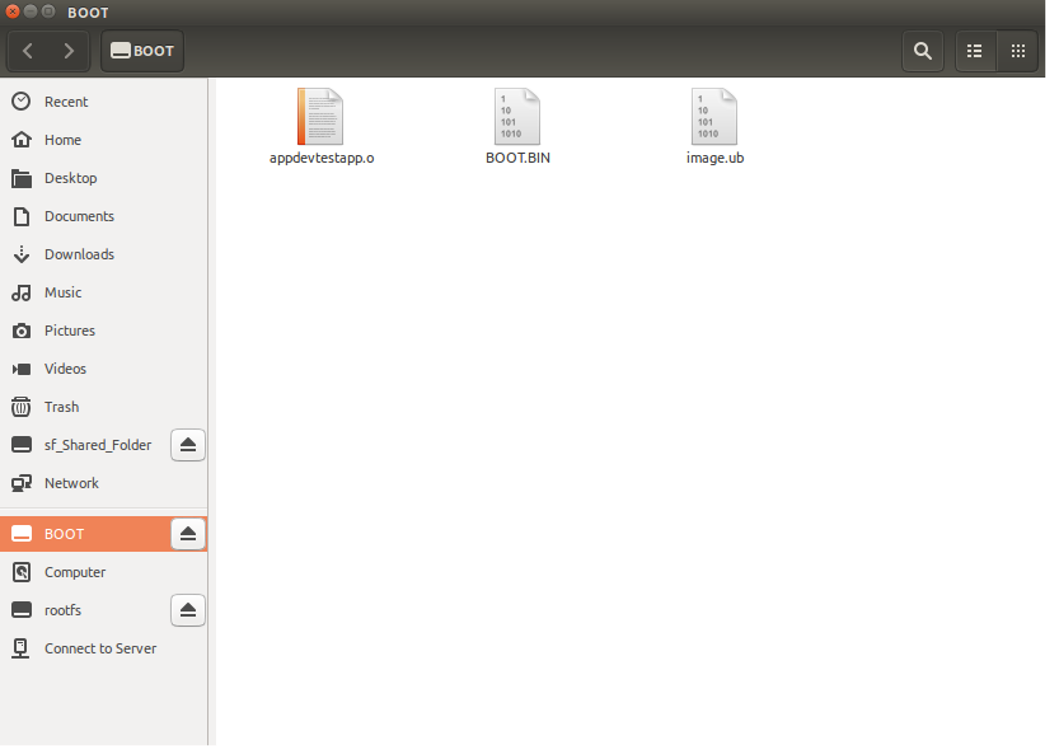
Copy BOOT.BIN and image.ub to the BOOT partition of the SD card, and extract roots.cpio to the rootfs partition.
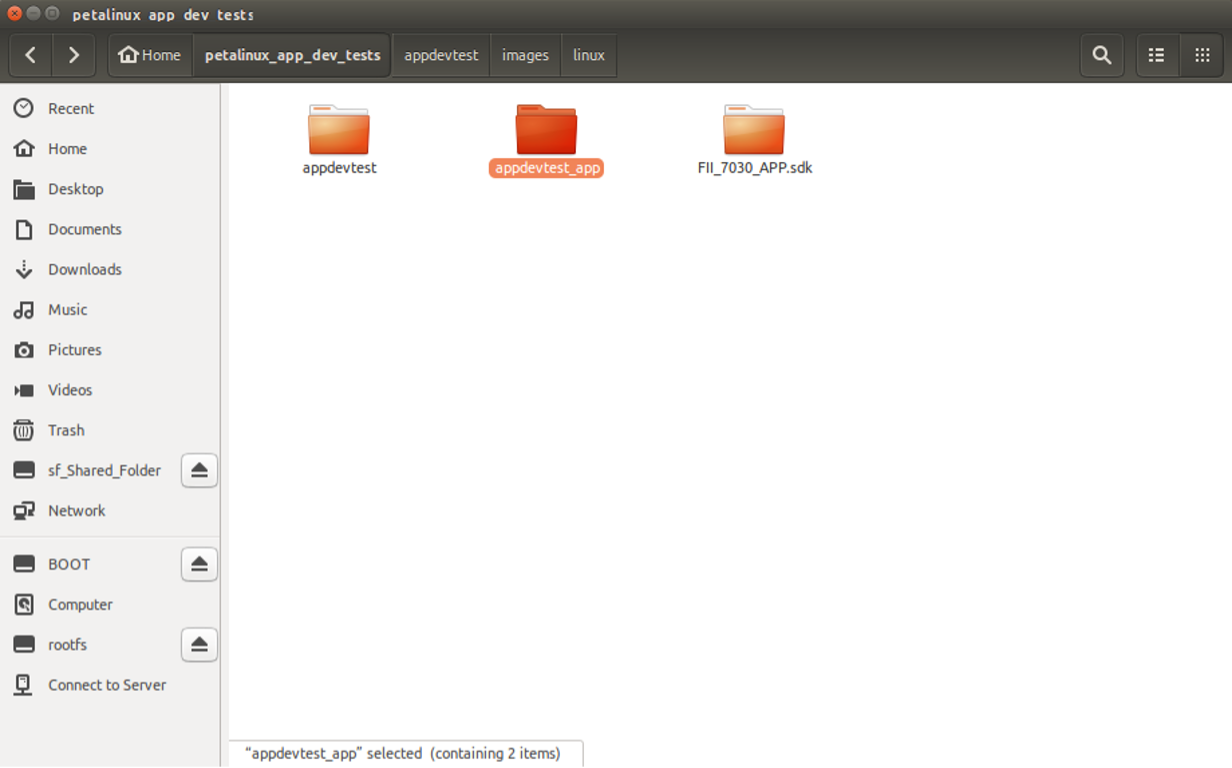
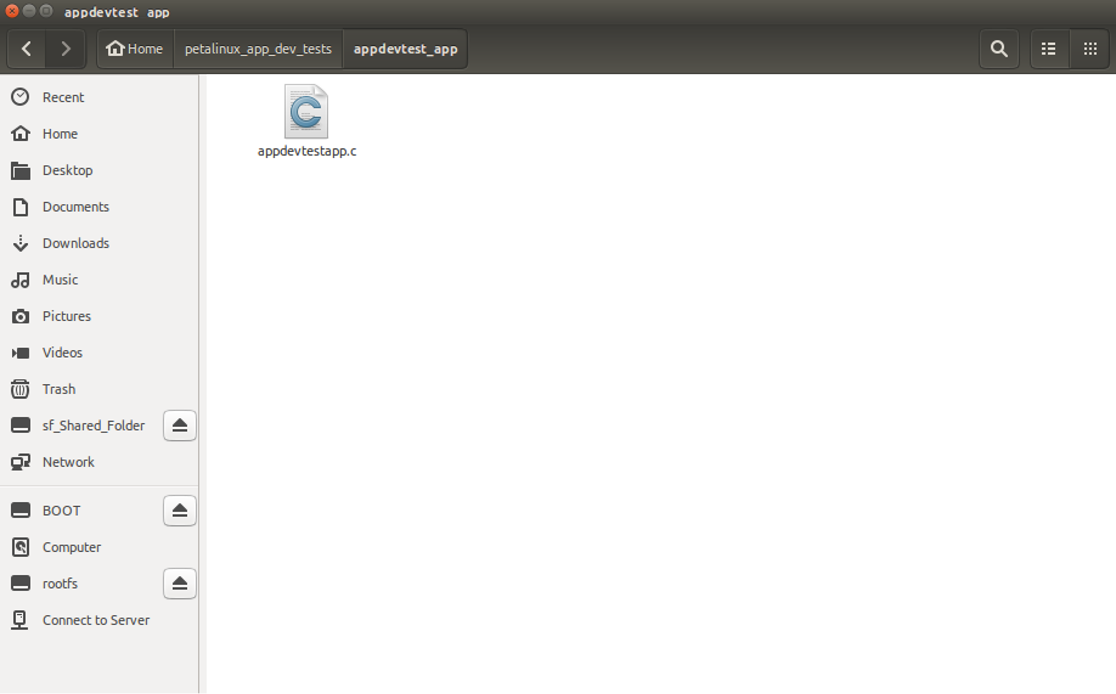
Next, we will create a folder for the app to be developed. We will name it appdevtest_app.
Create a new .c file in the folder we just created. We will name it as appdevtestapp.c.
The app’s code is as follows:
#include <stdio.h>
#include <stdlib.h>
#include <fcntl.h>   /* File Control Definitions           */
#include <termios.h> /* POSIX Terminal Control Definitions */
#include <unistd.h>  /* UNIX Standard Definitions          */
#include <errno.h>   /* ERROR Number Definitions           */
#include <string.h>

int main()
{
    printf("App has started running \n");
    printf("\n");
    printf("\n");

    system ("cd /dev; echo testing_ttyps0 >ttyPS0");
    system ("cd /dev; echo testing_ttyUL1 >ttyUL1");

    printf("\n");
    printf("\n");
    printf("App has finished running \n");

    return 0;
}
Note the usage of the system command, which executes the specified string as a UNIX command.
This also means directly executing the specified string in the development board interface will yield the same result.
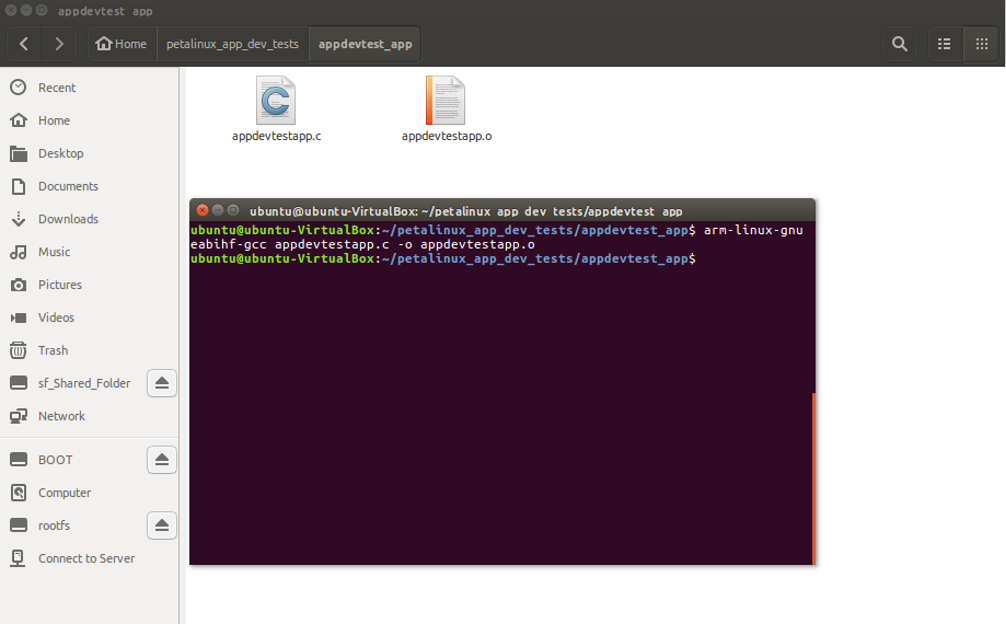
Next, we will execute the following command to create a .o file from the file we just created and modified.
arm-linux-gnueabihf-gcc appdevtestapp.c -o appdevtestapp.o
We will also copy this file to the SD card. For simplicity, we will put it in the BOOT partition.
Now we can plug the SD card into the development board and boot it up. Make sure that your device is connected to both the ARM_UART and the RISC_V JTAG ports on the development board. Next, execute the following command to mount the two partitions on the SD card.
cd /mnt
mkdir sd1
mkdir sd2
mount /dev/mmcblk0p1 /mnt/sd1
mount /dev/mmcblk0p2 /mnt/sd2
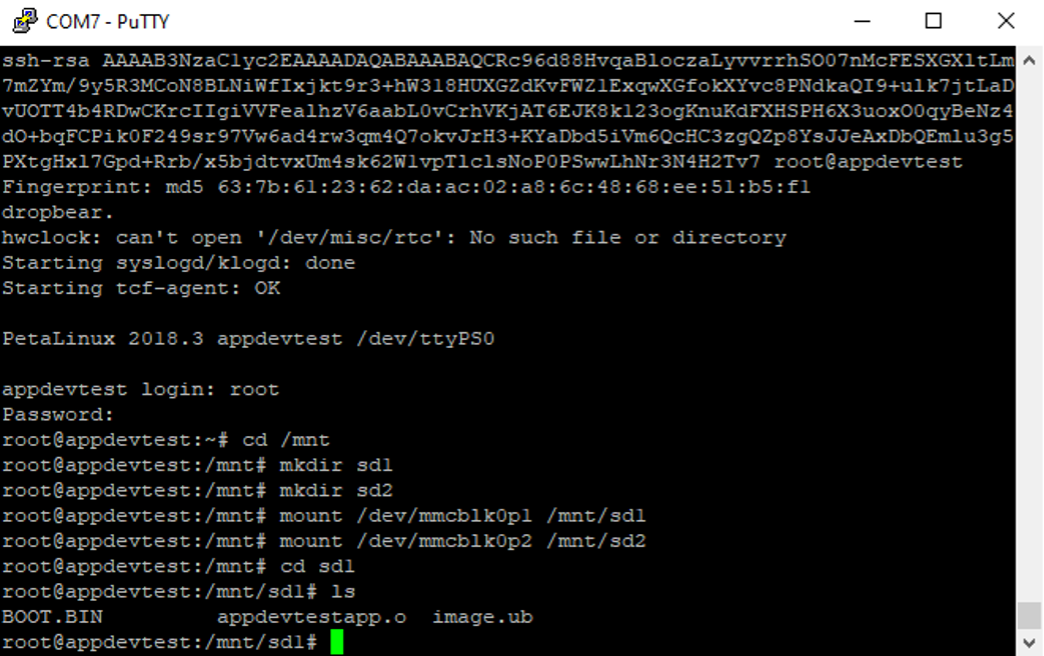
Next, we will go into the directory of the .o file, which should be /mnt/sd1 on the BOOT partition.

We can then execute the following command to execute the program/app.
./appdevtestapp.o


We can see that the corresponding messages are being output from the corresponding ports.
Once again, note that running this app is essentially running the following two system commands.
cd /dev; echo testing_ttyps0 >ttyPS0
cd /dev; echo testing_ttyUL1 >ttyUL1