This article talks about the commands used for Linux disk management.
For more on this subject, please refer to the SOC Table of Contents.
Disk partitioning using fdisk
If you wish to partition a specific disk, you may use fdisk with the following format:
fdisk [option]
The main options include:
-b<partition size> Specify the size of each partition.
-l List the partitions of the selected device.
-s<partition number> Output the specified partition size to the standard output, with the unit being blocks.
-u Compliments the “-l” option and will indicate the starting address of each partition.
Note that you should never partition the Ubuntu system unless you know what you’re doing.
As an example, we will be partitioning a USB disk instead.
In order for us to be able to mount a USB, we will need to install the VirtualBox Extension Pack which can be found at https://www.oracle.com/virtualization/technologies/vm/downloads/virtualbox-downloads.html#extpack.
Go to Settings in the top bar and select the USB tab on the left. Choose your corresponding USB Controller from the top and click on the add new USB filter button to select your USB.
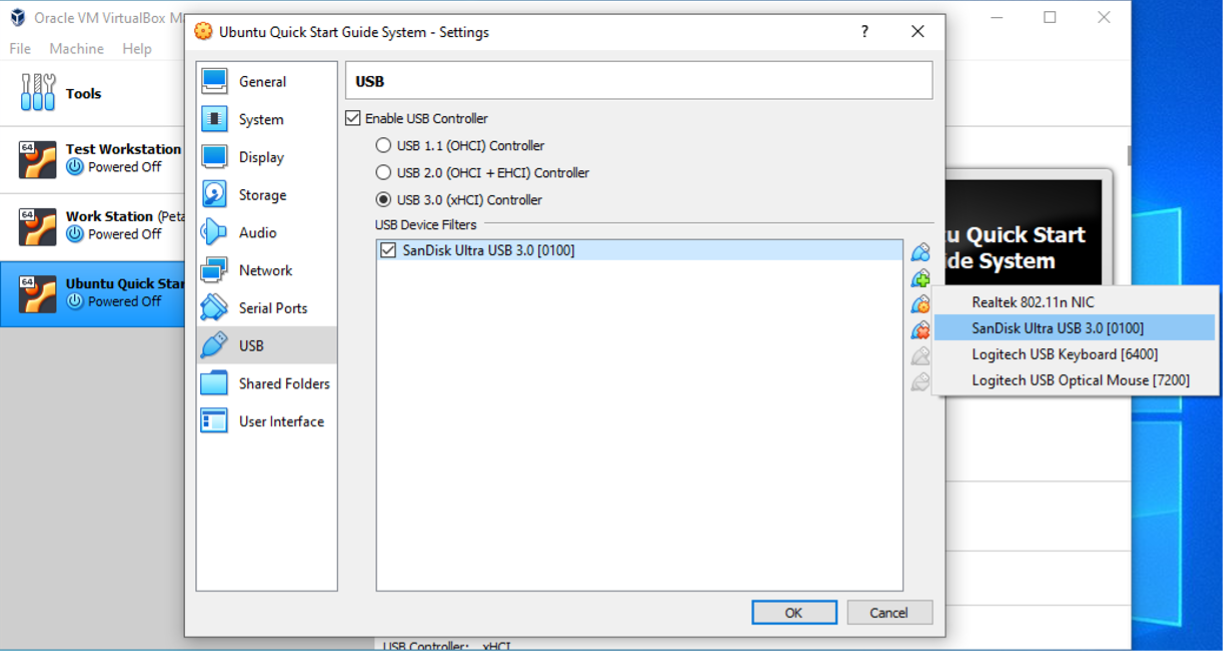
If you can’t see your USB devices, or it says devices unavailable, simply close VirtualBox, and locate your VirtualBox installer. Run it as Administrator and select repair when the prompt comes up. Upon successful repair, you should now be able to see your USB devices.
We will run the command ls /dev/sd* again to see the name of the USB file.

Notice that there is now /dev/sdb as well as /dev/sdb1. The USB as a whole is /dev/sdb, while the first partition is /dev/sdb1.
In order to partition the USB, we will use the following command:
sudo fdisk /dev/sdb
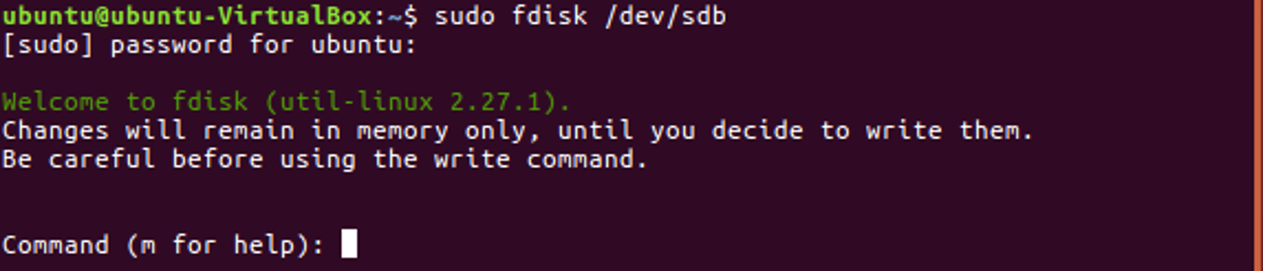
We can choose to input m to see the help files for using fdisk.
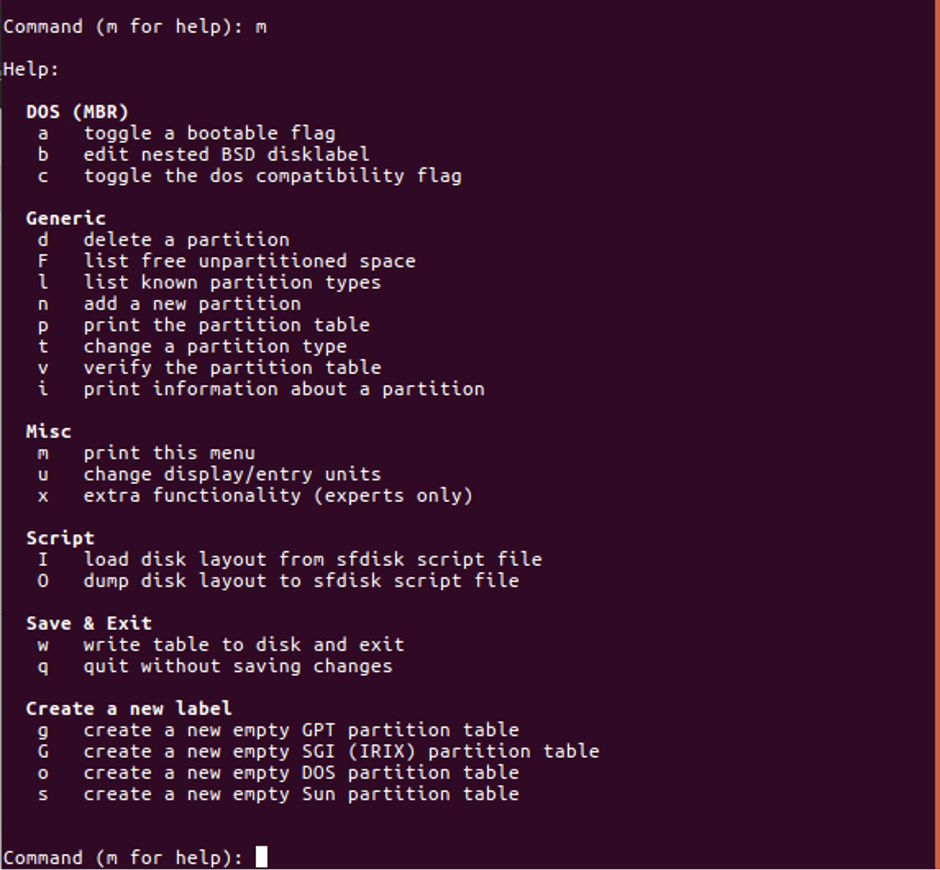
The most common commands for fdisk are as follows:
p Show the current partitions.
n Create new partition.
t Change the partition type.
d Delete the current partition.
a Change the partition’s startup sign.
w Write the partition changes to disk or storage.
q Quit without saving.
Formatting using mkfs
After using fdisk to create a partition, we will proceed to format it. In other words, we will create a file system on this partition. The format command is mkfs, and its formatting is as follows:
mkfs [option] [-t file system type] [partition name]
The main options are as follows:
fs Appoints the parameters for creating the file system.
-V Display the version information as well as a simplified tutorial.
-v Display the version information as well as a detailed tutorial.
For example, if we were to format a USB’s partition /dev/sdb1 into the FAT format, we would use the following command:
mkfs -t vfat /dev/sdb1
Mount partition using mount
After successfully creating a partition and formatting it, we can access it by first mounting it to a folder, and then access the partition by accessing the folder. The formatting is as follows.
mount [option] -t [type] [device name] [target folder]
The main options are as follows.
-V Display the program version.
-h Display supporting information.
-v Display detailed runtime information.
-o ro Mount as read-only.
-s-r Same as -o ro.
-o rw Mount as read and write.
-w Same as -o rw.
Because the mount point is a folder, we would need to create a folder first before mounting. We would usually put the mount point under the /mntdirectory, create a tmp folder under /mnt, and the mount the partition in /mnt/tmp.
We will continue to mount the USB disk’s /dev/sdb1 partition to /mnt/tmp.
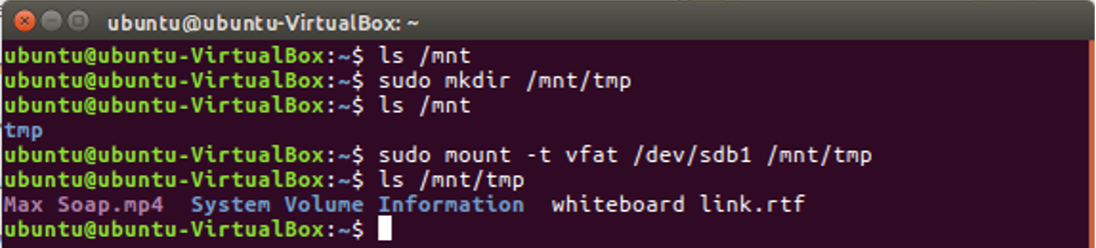
We can now access the USB by accessing /mnt/tmp.
Unmounting using unmount
When we no longer need to access the partition that we mounted, we can use unmount to remove it from the mount point. The formatting is as follows:
unmount [option] -t [file system type] [device name]
The most common options are as follows:
-a Unmount all file systems in /etc/mtab.
-h Display help documentation.
-n Don’t store information into the /etc/mtab file when unmounting.
-r If unmount was unsuccessful, attempt to mount it again as read-only.
-t<file system type> Only unmount the specified file system.
-v Show the runtime process.
If we were to unmount the USB that we previously mounted, we would do the following:

Because we don’t see any files when we try to access /mnt/tmp again, that means the disk partition was successfully unmounted.