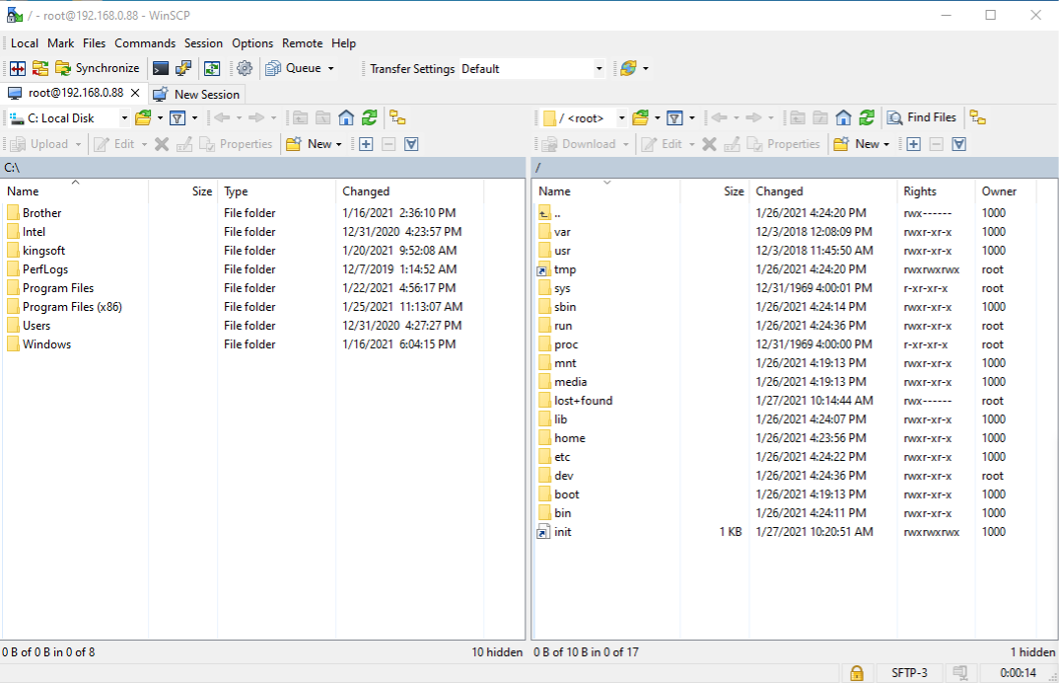
This article talks about how to connect to the Development Board using PuTTY and booting the system from the SD card. As well as using WinSCP to provide a graphical interface.
For related subjects, please refer to the SOC Table of Contents.
You can now open up PuTTY and connect to the board.
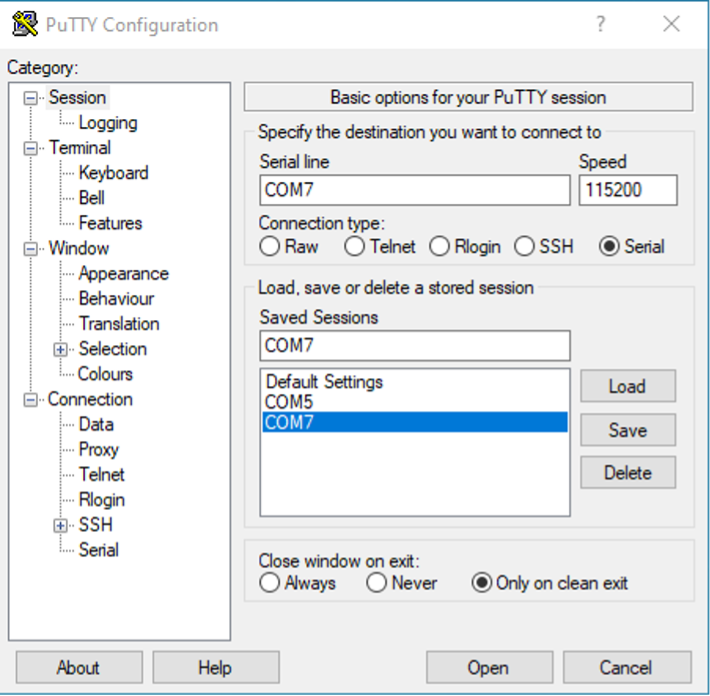
Notice that you may have a different port than here. You may also need to press the reset button on your development board for the system to boot from the SD card.
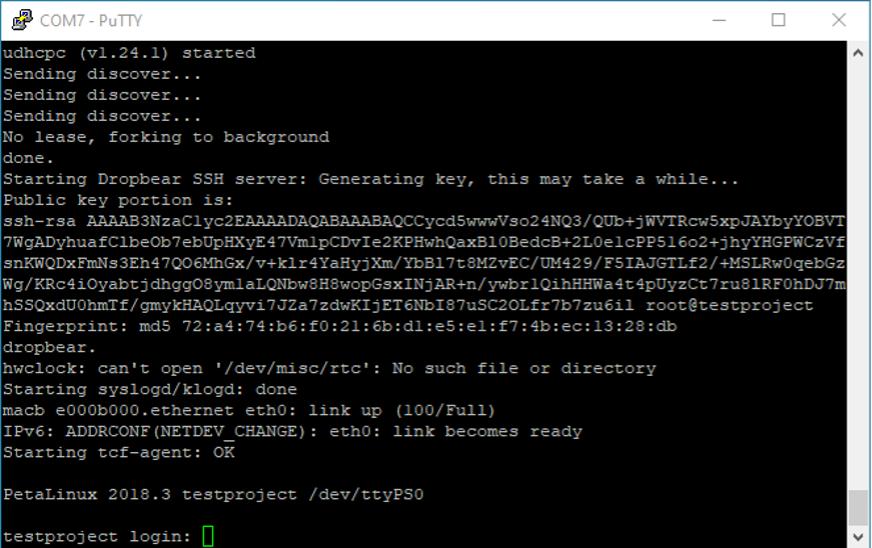
When prompted to log in, first enter your username, followed by your password. In my case, both username and password are “root”.
You can now use the ifconfig command to see the IP address of the system.
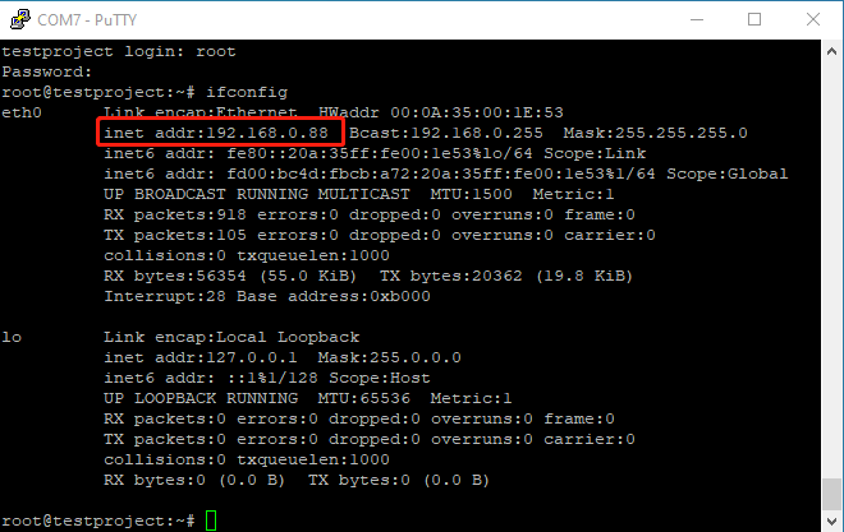
Now, we are able to use WinSCP to connect to the system and transfer as well as modify files.
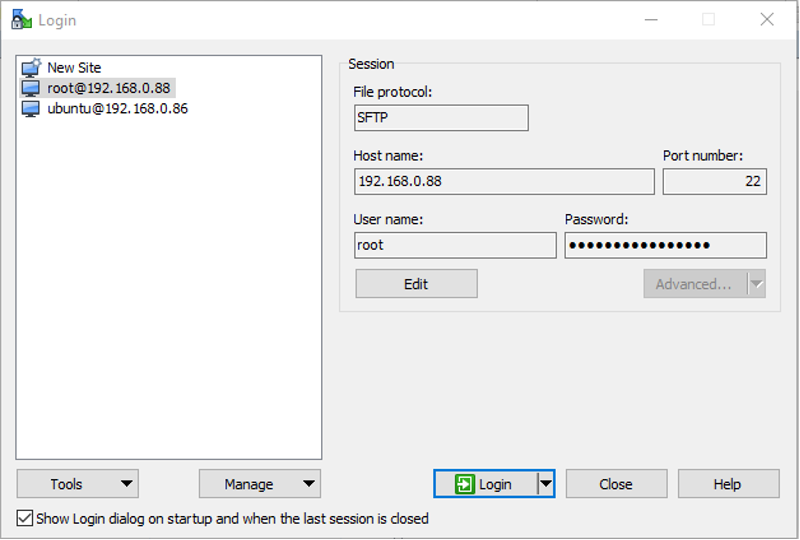
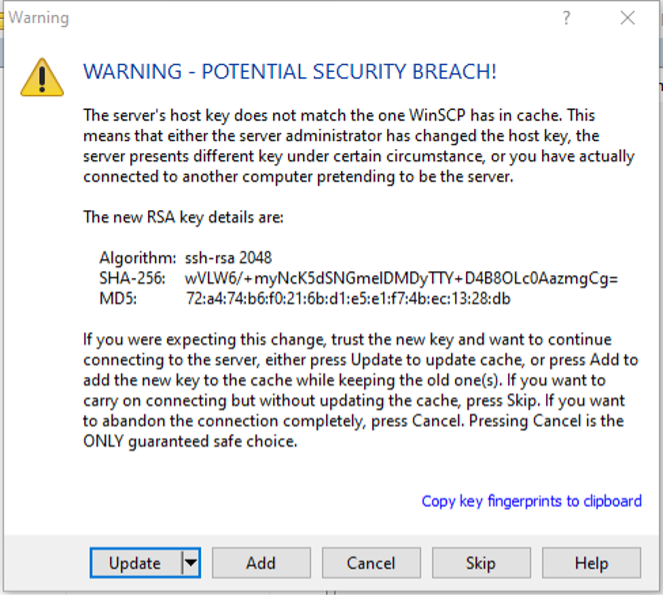
Make sure the IP address matches up, and you may simply select “update” if you get an error message.
You can now work with the system files.
